6 Culinary Rules for Incredible Pull-Apart Garlic Butter Pizza Sliders
You tear off a single slider from the golden tray, and the cheese stretches in a molten, glossy arc between your piece and the rest of the pan. The garlic butter glistens on the crisp top crust, and the pepperoni curls at the edges like little crispy coins. Then you flip it over and your heart sinks. The bottom bun is a soggy, sauce-soaked disaster that falls apart in your hand before you even take a bite.
I have tested this method across dozens of batches in the Expert Palate test kitchen, adjusting one variable at a time to isolate exactly what makes the difference between a split, oily mess and a perfectly bound, velvety emulsion. The Pull-Apart Garlic Butter Pizza Sliders are a brilliant hybrid of convenience and indulgence, but they demand precise layering science to prevent the structural collapse that ruins most homemade versions.
This is not just about stacking ingredients. This is about understanding how moisture migrates through bread matrices, how fat creates hydrophobic barriers, and how dual-stage baking locks in texture while building flavor complexity.
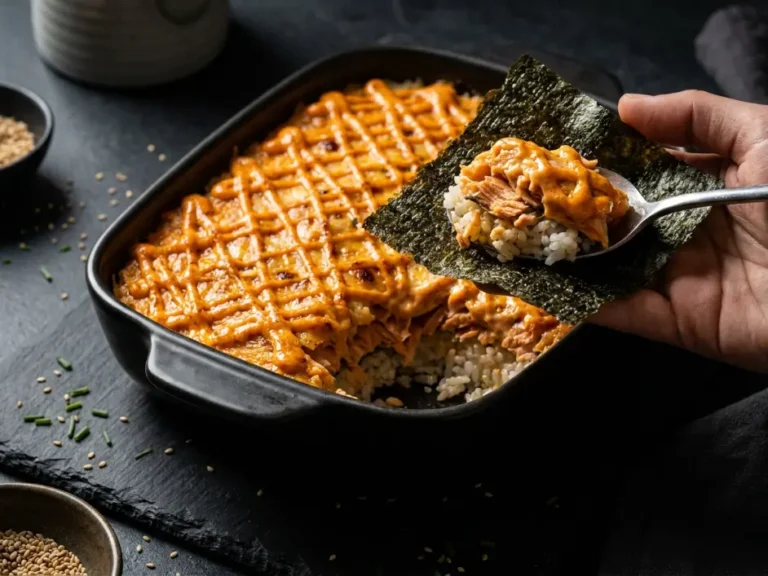
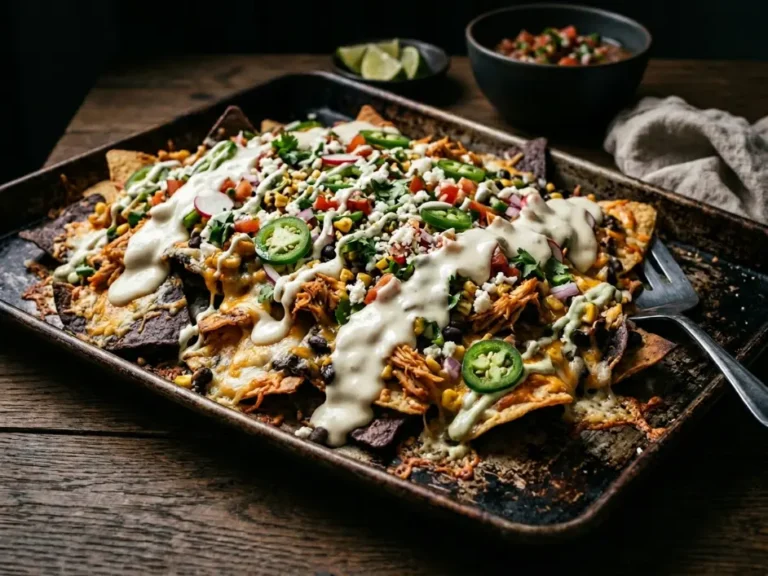
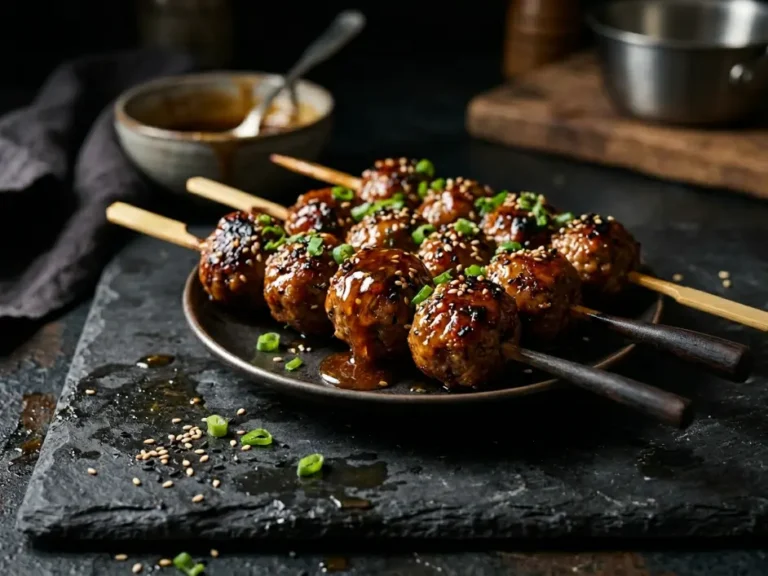
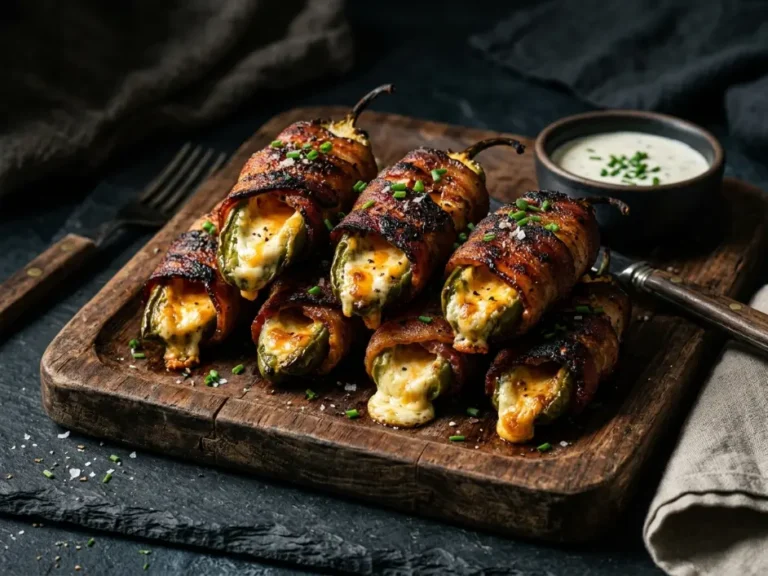
When planning a spread of finger foods for gatherings, the architecture of each component matters just as much as flavor. Building a balanced menu means understanding textural contrast and complementary intensity.
[🔗 INTERNAL LINK PLACEHOLDER: Insert Related Game-Day Appetizers or Homemade Pizza Sauce Guide Here]
The Science of Moisture Barriers and Starch
Bread is a porous matrix of gelatinized starch granules held together by gluten protein networks. When you introduce a high-moisture element like pizza sauce directly onto the crumb surface, capillary action pulls that liquid deep into the bread structure through thousands of microscopic channels.
The result is catastrophic structural failure. The starch absorbs water, swells, and loses its integrity. The bun becomes gummy, dense, and falls apart under its own weight.
The solution is simple but counterintuitive: you create a hydrophobic lipid barrier between the bread and the sauce. When you layer cheese directly onto the cut surface of the bun first, the fat molecules in that cheese melt and coat the starch network, physically blocking water from penetrating.
In simple terms: the melted cheese creates an invisible shield that keeps the sauce moisture on top of the bread instead of inside it. This is the same principle used in high-end burger joints to prevent bun sogginess, and it works flawlessly in slider applications.
Porous Bread Matrix+Lipid Barrier (Cheese Layer)→Hydrophobic Vapor Shield
This is not about adding more cheese for flavor. This is strategic placement of fat to control moisture migration and preserve textural integrity throughout the bake and beyond.
Pro Sourcing & Ingredient Selection
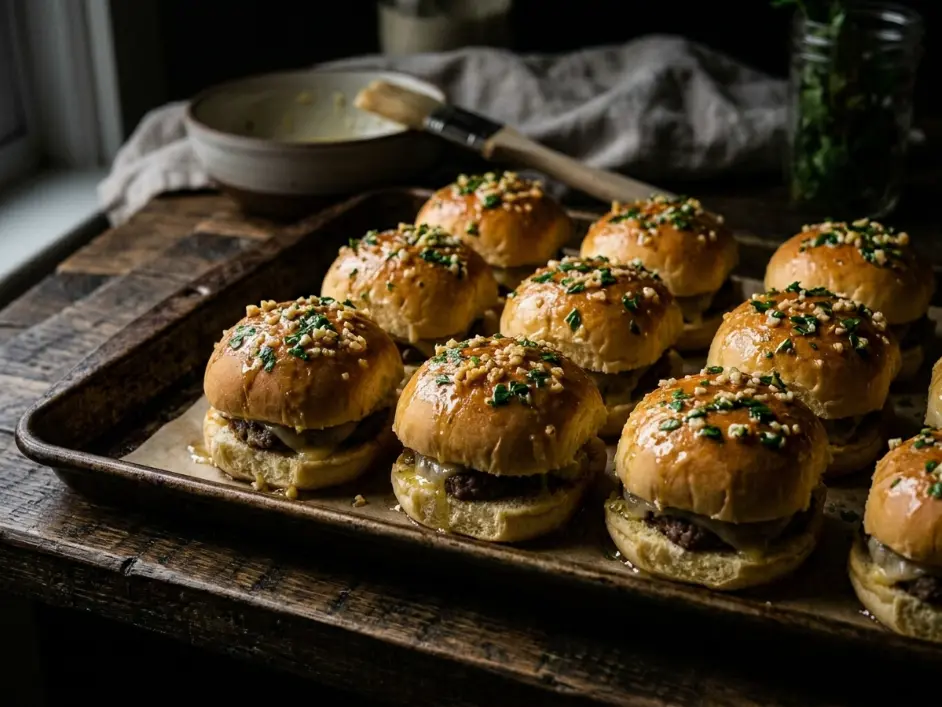
Not all slider rolls are created equal. You want a product that comes in a single, connected slab rather than individual separated buns. King’s Hawaiian is the gold standard here—those rolls are engineered to stay joined at the sides, which is essential for the pull-apart effect.
The slight sweetness of Hawaiian rolls also provides a beautiful contrast against savory pepperoni and tangy sauce, but if you prefer a neutral base, look for premium butter slider rolls at higher-end grocers. The key is density and connection. Avoid soft, fluffy dinner rolls that separate easily or compress into mush under toppings.
For the cheese, hand-shred a block of low-moisture, whole-milk mozzarella yourself. Pre-shredded cheese contains cellulose and potato starch anti-caking agents that prevent clean melting and create a grainy texture. Block mozzarella releases less free oil during baking and stretches beautifully when you pull the sliders apart.
When it comes to the garlic butter glaze, this is where you invest in quality. European-style cultured butter like Kerrygold or Plugrá has a higher fat content and deeper, nuttier flavor than standard supermarket butter. The cultured acids also add a subtle tang that balances the richness and enhances browning during the final uncovered bake.
Fresh garlic is non-negotiable. Jarred minced garlic or garlic powder cannot replicate the sharp, aromatic punch of freshly minced cloves suspended in melted butter.
Ingredients Table
| Category | Ingredient | US Customary | Metric |
|---|---|---|---|
| The Bread Base | Hawaiian sweet slider rolls (connected slab) | 12 count | 340g |
| The Pizza Fillings | Pizza sauce (thick, reduced style) | ¾ cup | 180ml |
| Low-moisture mozzarella block, hand-shredded | 8 oz | 225g | |
| Thinly sliced pepperoni | 4 oz | 113g | |
| Grated Parmigiano-Reggiano | ¼ cup | 25g | |
| The Herbed Garlic Butter Glaze | European-style unsalted butter, melted | 4 tablespoons | 57g |
| Fresh garlic cloves, finely minced | 3 cloves | 9g | |
| Dried oregano leaves | 1 teaspoon | 2g | |
| Fresh Italian parsley, chopped | 2 tablespoons | 8g |
Common Kitchen Blunders
| The Kitchen Blunder | What Actually Happens (Scientific Reality) | The Chef Joseph Fix |
|---|---|---|
| Pouring cold pizza sauce directly onto the bottom bun | Capillary action pulls water molecules into the porous bread matrix, causing immediate structural breakdown and sogginess | Layer shredded mozzarella cheese first to create a hydrophobic fat barrier that blocks moisture penetration |
| Using fresh mozzarella instead of low-moisture blocks | Fresh mozzarella contains 50-60% water content that releases during baking, flooding the assembly and creating a watery mess | Hand-shred low-moisture, whole-milk mozzarella blocks for controlled fat release and superior stretch |
| Brushing garlic butter only after baking | Surface-only application does not penetrate the crust or build aromatic depth; garlic burns on dry heat without butter protection | Brush garlic butter generously before the initial covered bake, then again before the final uncovered browning stage |
| Skipping the foil-covered steam bake phase | Direct high heat causes top crust to brown before interior cheese melts, leaving you with a burnt top and cold, unmelted center | Cover tightly with foil for the first 12 minutes to create a steam environment that melts cheese evenly before crisping |
| Using a soft, airy dinner roll instead of dense slider rolls | Loose gluten structure collapses under the weight of toppings and cannot support the pull-apart tension when serving | Select dense, connected Hawaiian rolls or butter slider rolls that maintain structural integrity under saturated toppings |
| Cutting individual sliders before baking | Pre-separation destroys the pull-apart effect and allows moisture to escape from cut edges, drying out the bread | Bake the entire slab intact, then cut between rolls only after the final bake when the structure is set |
Step-by-Step Method
Step 1: The Horizontal Crumb Bisect
Preheat your oven to 350°F / 177°C. Position the rack in the center of the oven for even heat circulation. Line a heavy rimmed baking sheet with parchment paper for easy cleanup and to prevent sticking.
Remove the entire connected slab of slider rolls from the package without separating them. Place the slab on a stable cutting board. Use a long, sharp serrated knife to slice horizontally through the entire slab at once, creating two equal planes of bread—a complete top half and a complete bottom half.
This single horizontal cut is crucial. It keeps all the rolls connected, which is what creates the dramatic pull-apart effect when you serve them. The connected structure also provides stability during assembly and prevents individual rolls from sliding around.
Place the bottom bread slab cut-side up on your prepared baking sheet. Set the top half aside temporarily.
Step 2: The Hydrophobic Cheese Base Application
Take half of your hand-shredded mozzarella and distribute it evenly across the entire cut surface of the bottom bread slab. Make sure every bit of exposed crumb is covered with a thin, uniform layer of cheese.
This is your moisture insurance policy. When this cheese melts, it will form a continuous fat film that seals the bread’s porous structure against the liquid in the pizza sauce. Without this barrier, the sauce will wick directly into the crumb and turn your slider bottoms into a soggy, structural disaster.
Press the cheese down gently with your palm to ensure good contact with the bread surface. You want complete coverage with no gaps.

Step 3: Layering the Emulsified Proteins and Aromatics
Now spoon your pizza sauce evenly over the cheese layer. Use the back of a spoon to spread it into a uniform layer that reaches the edges but does not overflow. The sauce sits on top of the cheese barrier, not on the bread itself.
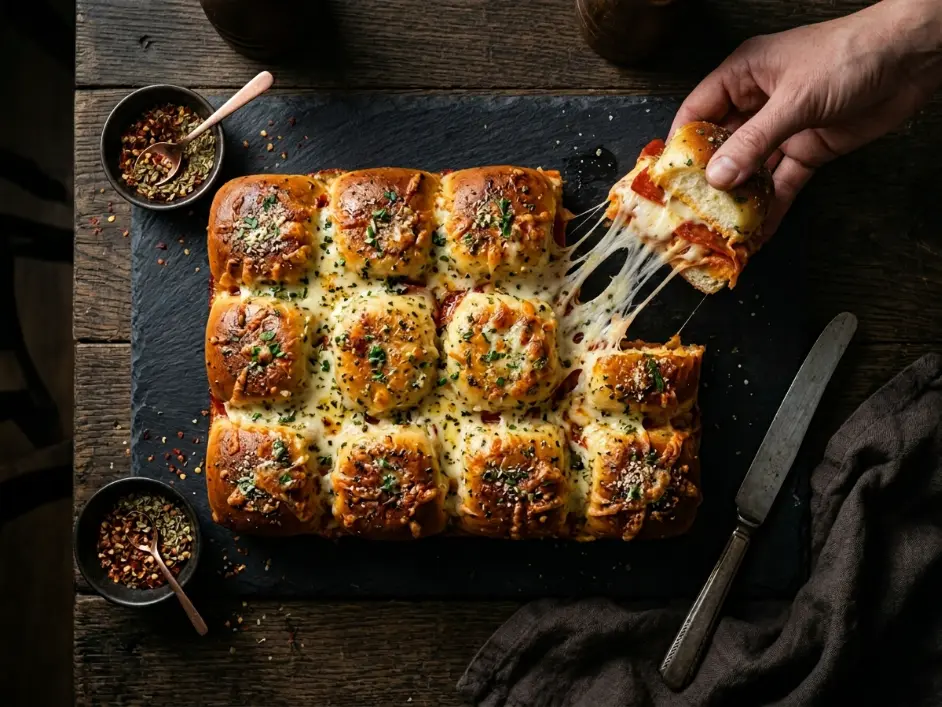
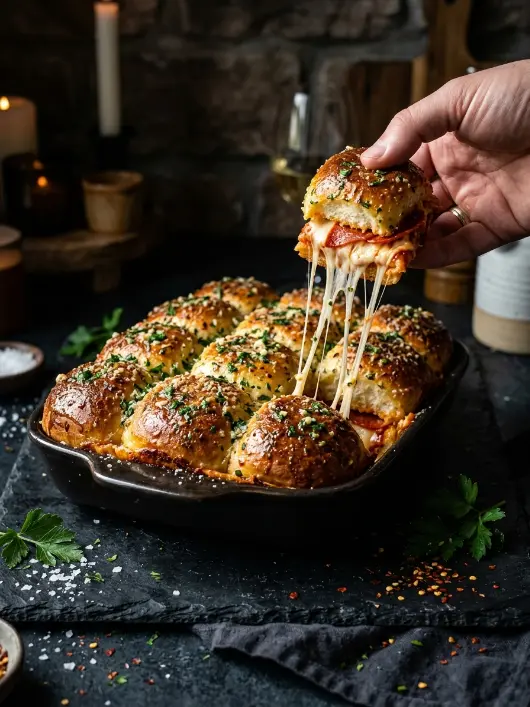
Distribute the pepperoni slices evenly across the sauce layer. Overlap them slightly if needed to ensure every slider gets a good portion. The fat in the pepperoni will render during baking, adding flavor and moisture without compromising the bread structure because it is sitting above the protective cheese layer.
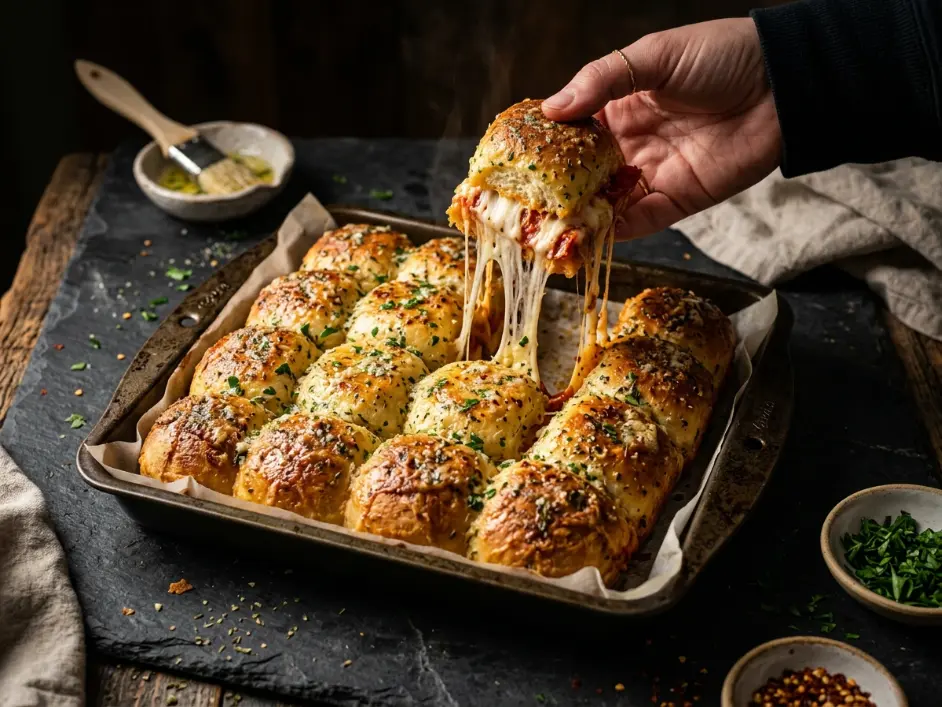
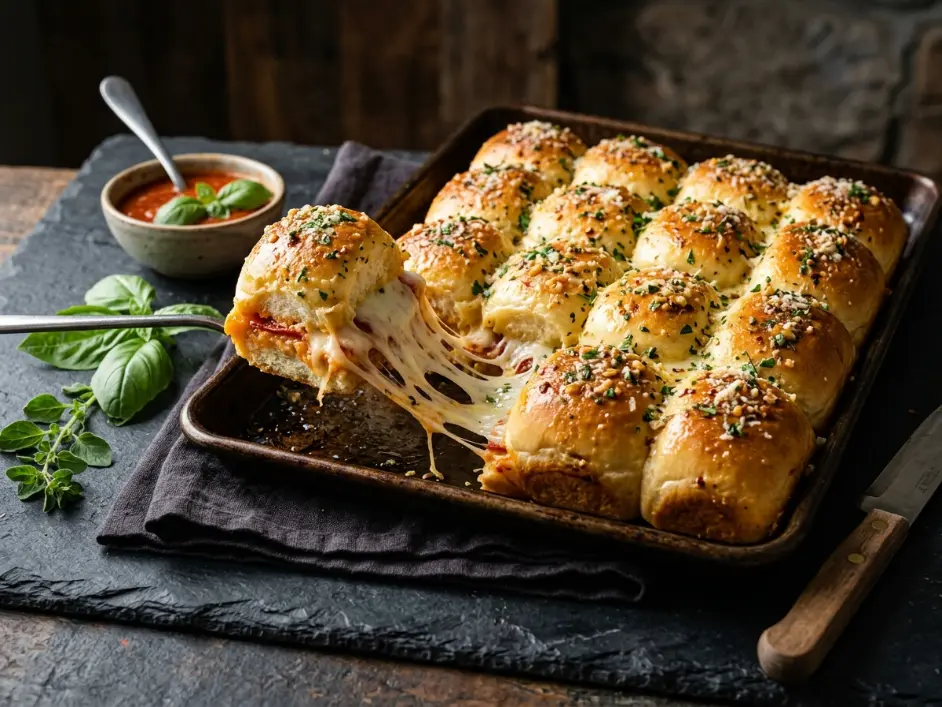
Top the pepperoni with the remaining shredded mozzarella, spreading it evenly to cover all the toppings. This second cheese layer will melt down over everything, binding the components together and creating those gorgeous cheese pulls when you tear the sliders apart.
Carefully place the top bread slab over the cheese and filling layers, aligning the edges as closely as possible. Press down very gently across the entire surface to create good contact between the layers without compressing the soft bread too much.
In a small bowl, whisk together the melted butter, minced garlic, dried oregano, and chopped fresh parsley until thoroughly combined. Use a silicone pastry brush to generously coat the entire top surface of the slider slab with this garlic butter mixture. Get into the seams between rolls where the dough connects.
Sprinkle the grated Parmigiano-Reggiano evenly over the buttered top. This will create a salty, umami-rich crust as it browns.
Step 4: The Dual-Stage Thermal Emulsion and Crust Bake
Cover the entire baking sheet tightly with aluminum foil, sealing the edges to trap steam inside. This is critical for the first baking stage.
Bake covered for 12 minutes. During this phase, the trapped steam creates a humid environment that allows the interior cheese to melt completely and evenly while keeping the top crust soft. The garlic butter penetrates the surface, and the flavors meld without any risk of burning.
After 12 minutes, carefully remove the foil. The sliders should look pale and soft, with fully melted cheese visible at the seams.
Return the uncovered tray to the oven and bake for an additional 8 to 10 minutes, until the top crust turns a deep golden brown with darker toasted spots around the garlic and herbs. The butter will bubble at the edges, and you will smell the rich, caramelized aroma of browned dairy proteins and toasted bread.
Remove from the oven and let the sliders rest on the baking sheet for about 3 minutes. This brief resting period allows the melted cheese to set slightly, which prevents a complete molten blowout when you start pulling them apart. The bread also firms up just enough to handle cleanly.
Use a sharp knife to cut between the individual rolls along their natural seams. Serve immediately while the cheese is still stretchy and the tops are warm and crisp.
Chef Joseph’s Insight
“Cooking is not just chemistry — it is memory made edible. When others gather around a table and tear off that first piece of warm, crunchy bread to plunge it into a bubbling, velvety center, the science fades away and pure connection takes over. The most powerful moves in the kitchen are almost always the quiet ones. The overnight rest. The proper preheat. The two-minute wait before you plate. It is the patience to wring out every last drop of moisture from your greens, and the care you take in picking the right cheese. Take your time, respect the process, and your kitchen will always reward you.”
— Chef Joseph | Expert Palate
When building a complete meal or party spread around these sliders, think about balancing richness with freshness and crunch.
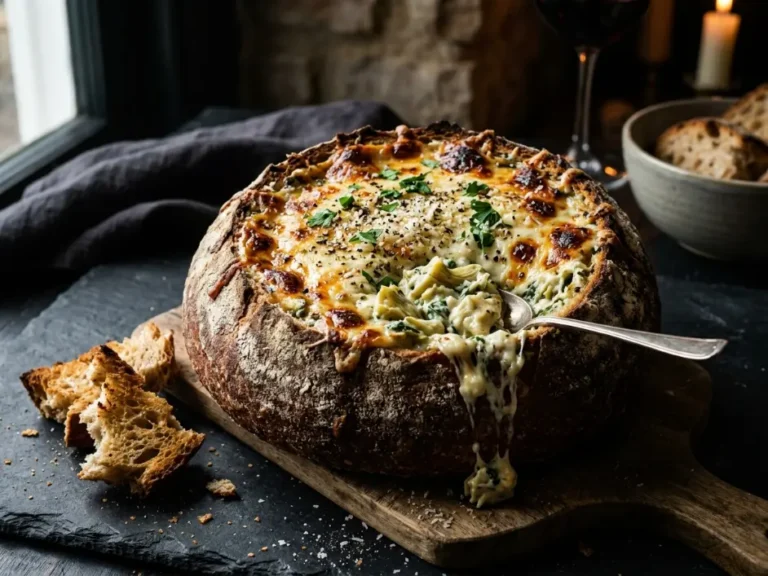
5 Culinary Secrets to the Ultimate Cheesy Spinach Artichoke Dip in a Bread Bowl
Technical Data & Nutrition Table
Per Serving (2 sliders):
| Nutrient | Amount |
|---|---|
| Calories | 385 kcal |
| Protein | 18g |
| Total Fat | 22g |
| Saturated Fat | 11g |
| Carbohydrates | 28g |
| Sodium | 780mg |
| Cholesterol | 55mg |
Note: Nutritional values are careful kitchen estimates based on standard ingredient databases and may vary depending on specific brands and preparation methods used.
Food Safety & Thermal Management
Because these sliders contain both dairy and cured meat, proper thermal management is essential. The safe minimum internal holding temperature for any cheese and pepperoni combination is 165°F / 74°C, which ensures that any potential pathogens are destroyed.
The danger zone for bacterial growth spans 40°F to 140°F / 4°C to 60°C. Cooked sliders left at room temperature for more than two hours enter this zone and should be discarded to prevent foodborne illness risk.
During parties or buffet service, keep baked sliders warm in a low oven set to 200°F / 93°C if they will be out for extended periods. If they cool below 140°F / 60°C, either reheat them back above this threshold or refrigerate them promptly.
Never leave protein-heavy finger foods sitting at room temperature for extended periods, especially in warm weather or crowded indoor environments where ambient temperatures can climb.
Storage & Reheating Matrix
| Item State | Fridge Storage Limit | Freezer Safety Option | The Absolute Best Reheating Method |
|---|---|---|---|
| Unbaked Assembled Slider Trays | Assemble and refrigerate up to 4 hours before baking; cover tightly with plastic wrap | Not recommended due to bread texture degradation from ice crystal formation | Bake directly from fridge using the standard dual-stage method; add 2-3 extra minutes to covered bake time |
| Leftover Baked Pizza Sliders | 3 days in airtight container or wrapped tightly in foil | Up to 1 month if wrapped individually in foil then placed in freezer bags; thaw in fridge overnight | Reheat uncovered at 325°F for 10-12 minutes until tops re-crisp and cheese melts; avoid microwave which makes bread rubbery |
Pull-Apart Garlic Butter Pizza Sliders
Ingredients
Equipment
Method
- Preheat the oven to 350 degrees Fahrenheit and line a heavy rimmed baking sheet with parchment paper for easy cleanup and prevention of sticking.
- Slice the entire connected slab of slider rolls horizontally in half creating matching top and bottom bread planes without separating individual rolls.
- Place the bottom bread slab cut side up onto the prepared baking sheet and cover the entire surface completely with half of the hand shredded low moisture mozzarella cheese to create a hydrophobic fat barrier.
- Spread the thickened pizza sauce uniformly over the cheese layer to isolate sauce moisture away from direct contact with the porous bottom crust matrix.
- Layer the sliced pepperoni pieces evenly across the sauce plane and finish with the remaining hand shredded mozzarella cheese layer to bind the filling components together.
- Place the top bread half over the assembled cheese and filling layers and press down gently across the entire surface to bind the sandwich structure together without compressing the soft bread.
- Whisk together the melted European style butter, finely minced fresh garlic cloves, grated parmesan cheese, dried oregano, and chopped fresh Italian parsley then brush this mixture heavily over the entire top surface of the connected roll slab.
- Cover the baking sheet tightly with aluminum foil sealing the edges to trap steam inside and bake covered for twelve minutes to melt the interior cheese evenly without browning the top crust.
- Remove the foil carefully and return the uncovered tray to the oven for an additional eight to ten minutes until the top crust turns deep golden brown with darker toasted spots around the garlic and herbs.
- Let the baked sliders rest on the sheet pan for approximately three minutes to allow the melted cheese emulsion to stabilize slightly before cutting between the individual rolls along their natural seams and serving immediately.
Notes
Frequently Asked Culinary Questions
Can I use regular dinner rolls instead of sweet slider rolls?
Yes, but the structural results will differ significantly. Standard dinner rolls tend to have a lighter, airier crumb with less density than Hawaiian slider rolls. This means they compress more easily under toppings and may not hold together as well during the pull-apart process. If you use dinner rolls, look for ones that come in a connected pan format and press them together firmly before slicing to create better cohesion.
Why did the garlic on top of my sliders turn bitter and black?
Fresh minced garlic burns easily when exposed to direct dry heat. If you brush the garlic butter onto the bread and bake uncovered immediately, the garlic pieces will scorch before the bread browns, creating bitter, acrid flavors. The solution is the foil-covered first bake stage, which allows the garlic to cook gently in the trapped steam without browning. By the time you remove the foil for the final browning stage, the garlic is already softened and protected by the surrounding butter and melted cheese.
Can I substitute the pepperoni with fresh ground sausage without making the bread greasy?
Fresh ground sausage contains significantly more free fat and moisture than cured pepperoni. If you use it raw, it will release excessive grease during baking that can overwhelm the protective cheese barrier and soak into the bread. The fix is to pre-cook the sausage completely, breaking it into small crumbles, then drain it thoroughly on paper towels to remove as much rendered fat as possible. Let it cool before layering it into the sliders. This way you get the flavor without the structural risk.
How do I keep the top buns from browning too quickly before the cheese melts inside?
This is exactly why the dual-stage baking method is essential. The foil-covered first stage traps steam and prevents the tops from browning while the interior cheese melts completely. If you bake uncovered from the start, the exposed butter and cheese on top will brown and even burn before the interior reaches the proper melting temperature. Always bake covered first, then finish uncovered for controlled browning.
Curated External Resource Pairings
To deepen your understanding of ingredient composition and macro-nutrient profiles, explore the detailed raw data available through USDA FoodData Central, which provides verified nutritional breakdowns for every component in this recipe.
For broader guidance on balancing acidity in tomato-based sauces and building layered flavor profiles in pizza applications, the expert testing and editorial work at Serious Eats offers invaluable science-backed techniques.
If you are planning a full party spread and want to build a menu that balances textures and flavor intensities across multiple dishes, browse the curated appetizer collections at Food Network, where professional chefs demonstrate complementary pairing strategies.
🍷 Beverage Pairing: A crisp, cold lager or pilsner cuts through the richness of the cheese and butter, while a simple sparkling water with lemon provides a refreshing palate cleanser.
🥗 Side Pairing: Serve alongside a bright, acidic green salad dressed with red wine vinegar to balance the heavy dairy and cured meat flavors.
🌶️ Flavor Boost: Offer small bowls of crushed red pepper flakes and extra grated Parmesan at the table so guests can customize heat and umami intensity to their preference.